How to Make the Best Recording in a Studio – Part Three

In Part One, we discussed Practice, Types of Projects, Studio Gear, and Suggested Order for Recording. To read the first article, click HERE.
In Part two, we looked at Mic Choice and Placement. To read the first article, click HERE.
Now, in Part Three, we’ll look at Effects and When to Apply Them, the Mixing Process, and the Mastering Process.
EFFECTS AND WHEN TO APPLY THEM
There are many effects and tonal treatments that modern mixers and recorders can add to sound. Some of these are best left to the final mixing process. Some can be done while laying down tracks.
For electric guitars, some of these effects, like Delay, Octave, Fuzz or Chorus can be added as the track is being laid down. Just be sure that those are the effects that you want on the recording, and that the levels are right. Others, like Reverb, are best left off till later.
Another thing to remember is that, often, the order that the effects are added is important. As usual, there is a lot of discussion about this, too. But, one suggested order might be:
1. Compression
2. Distortion
3. Delay
4. Flange or Chorus
5. Reverb
The order described here starts with the simplest effect and progresses through those that would have the most impact on the sound.
Compression, especially a hard compression, is better done while laying down a track. (See the list below).
For all elements, vocals and instruments, don’t apply any reverb since it is impossible to change or remove once it’s added. The overall effect of reverb is also dependent on the overall sound of the final mix. What might sound good while tracking is too much in the mix.
Here are a few examples:
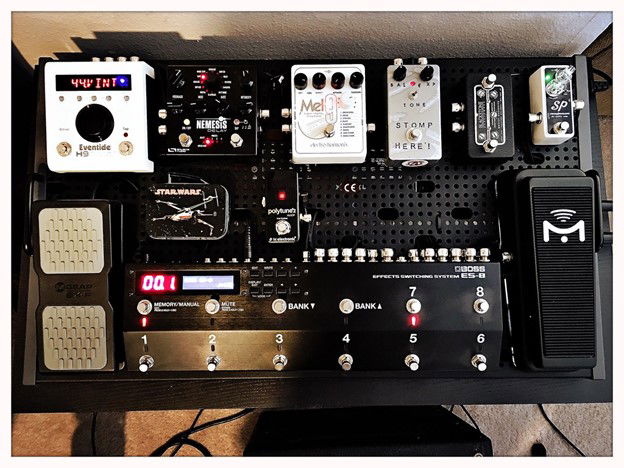
Electric Guitar – Many electric guitar players have half a dozen effects or more that they use regularly. They include:
- Boost - boosts the signal
- Delay - adds one or more repeats of the signal
- Octave - raises or lowers the pitch an octave
- Tremolo - varies the signal loudness at a regular rate
- Vibrato – similar to Tremolo, but without the choppy feel.
- Compressor - keeps the loud parts from being too loud and the soft parts from being too soft.
- Fuzz, Distortion, Overdrive – Some differentiate among them, but they all basically produce a fuzzy sound, as in hard rock music.
- Chorus - doubles and detunes your signal
- Flanger – similar to Chorus but a little deeper
- Reverb – adds natural ambience to the signal so that it sounds as if the guitar is in a room or auditorium.
- Phaser – adds an out of phase version of your signal with your original signal.
- Equalizer (eq) – adjusts the tome of the signal, boosting or cutting select frequencies or bands of frequencies.
Bass Guitar –
- Compression - Basses are notorious for providing an inconsistent recording level, so some strong compression works well here.
- Delay – A bass can also seems a bit “flat”, so a little delay can fatten up the sound. This technique adds just a bit more of the natural overtones to the sound, brightening it up and giving it a bit more punch. Of course, some bassists like the “thuddy” sound. When applying the delay, make sure that you don’t use more than about 25% delay mixed with the original signal. Otherwise, you might end up with phase cancellation where the sound seems to almost disappear.
Live Drums – Live drums are tricky to record in the first place, whether there are many mics or few. Sometimes just a bit of delay will suffice to add just a bit of space to the sound. If possible, use individual tracks for each drum or section of drums (left side, right side, kick, cymbals). That allows for more individual treatment when the time comes. More on that in Part Two.
Horns, especially Brass – Horns tend to be loud, especially brass. They definitely need compression during tracking. The mics can be placed anywhere from two to six feet from the bell of a brass instrument or from the mid-front of a woodwind. This may take some experimentation.

THE MIXING PROCESS
****** This section is presented presuming that readers are familiar with the operations of a mixer, especially their own. If you’re not sure about how yours operates, please come back to this article when you are much more familiar with its operation. ******
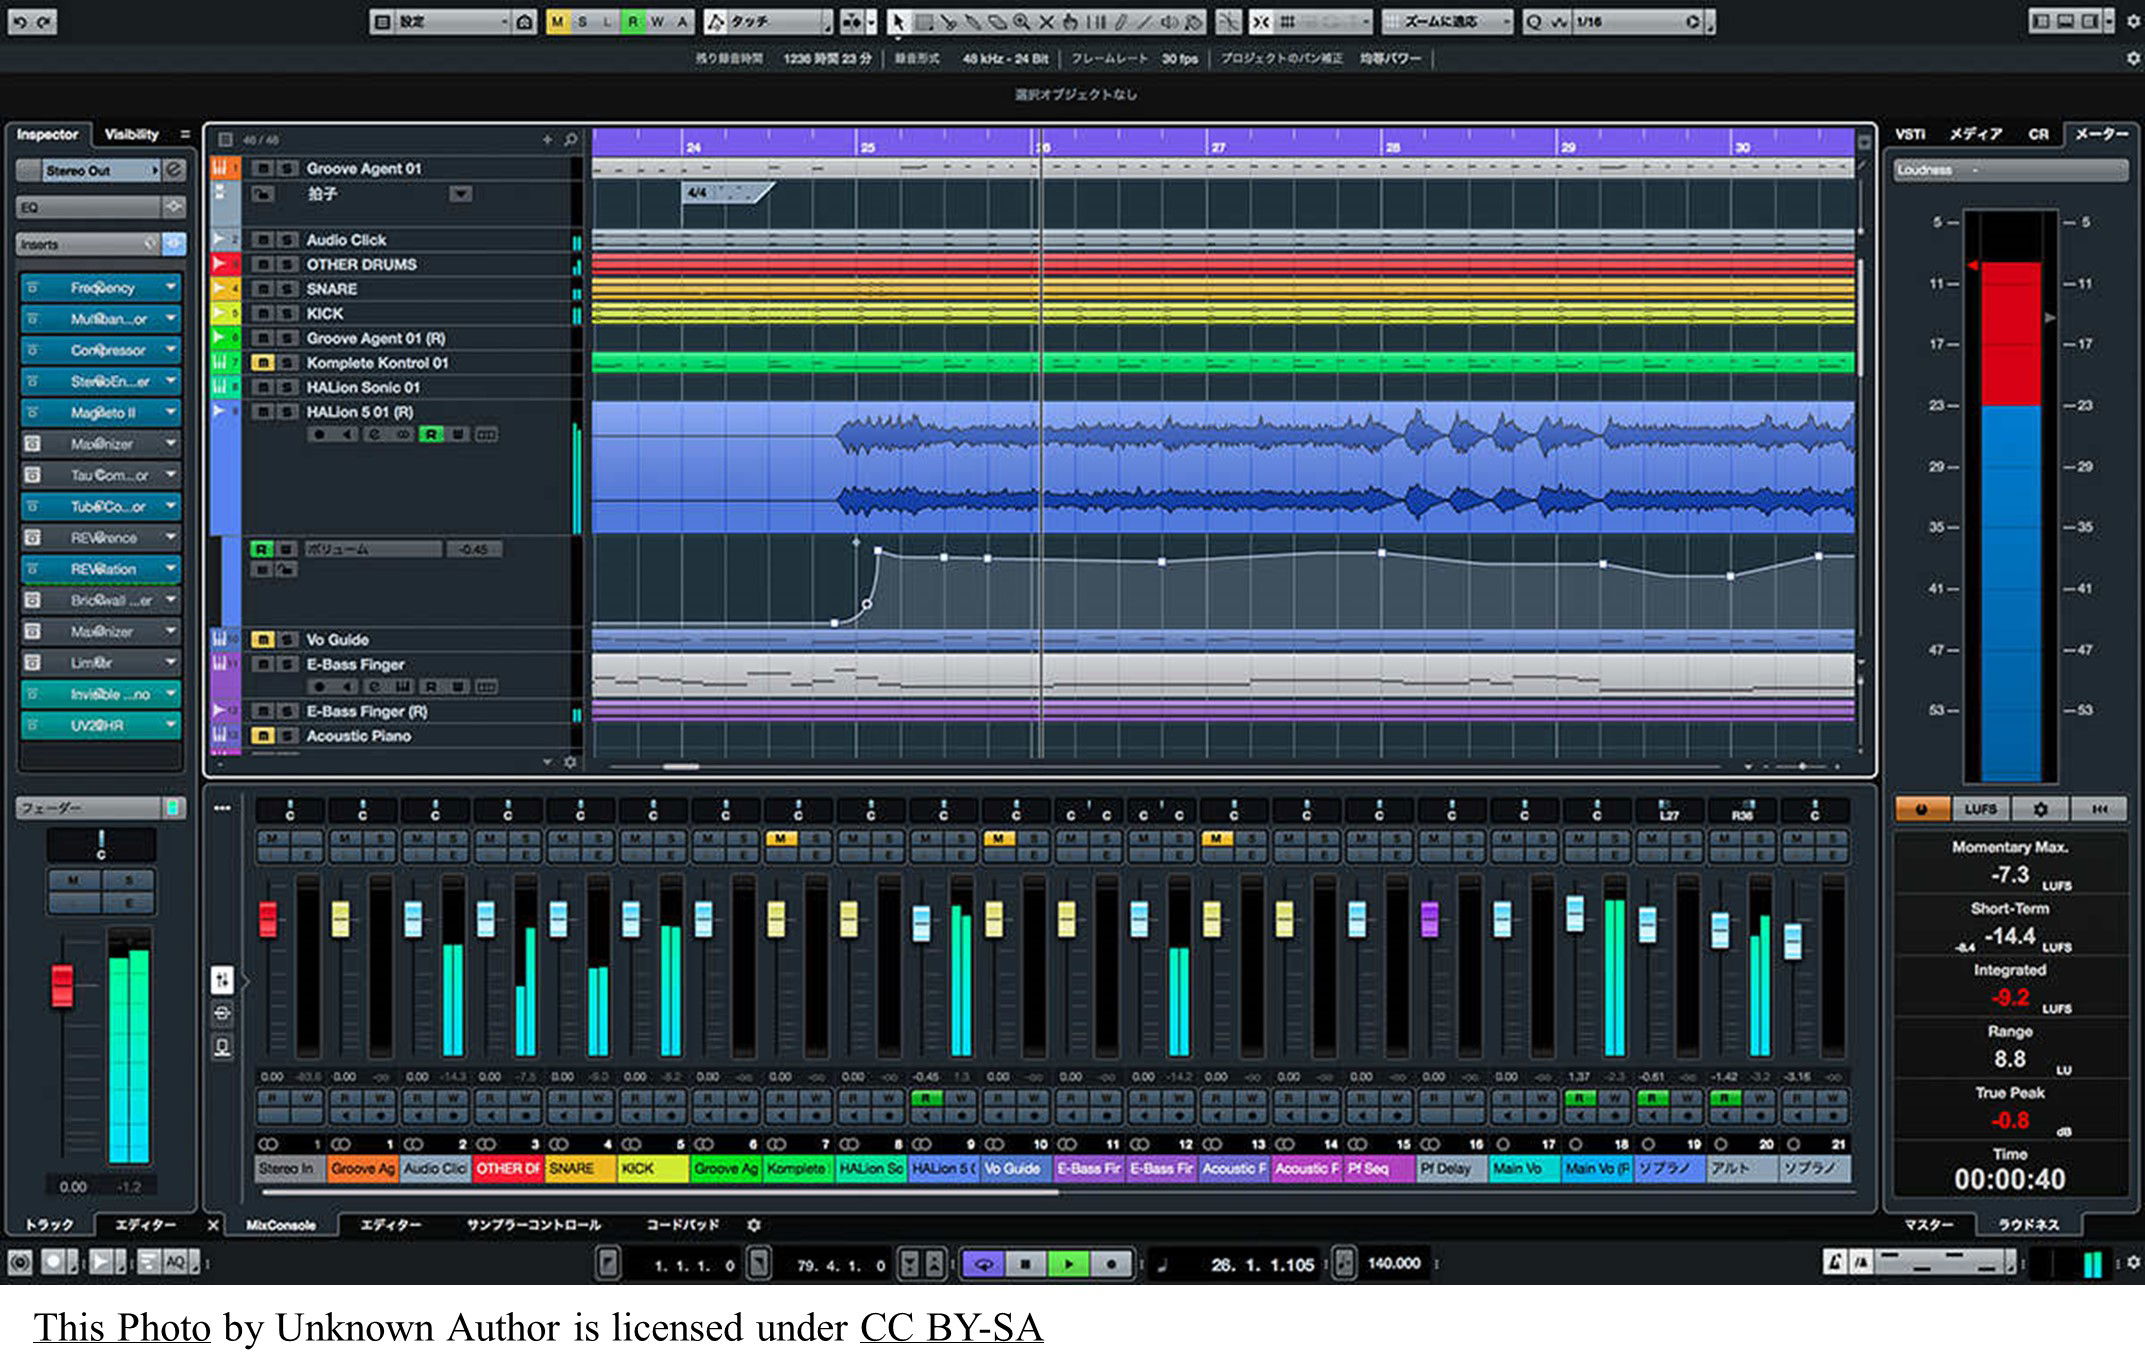
The mixing process plays a pivotal role in turning a collection of individual audio tracks into a cohesive and musically pleasing masterpiece. Whether you're a budding musician or an aspiring audio engineer, understanding the basics of mixing is essential for bringing out the best in your multi-track recordings.
- Individual Track Preparation
Before starting the mixing process, it's crucial to ensure that each individual track is well-prepared. This involves tasks such as making sure that each track is at the proper recording level, eliminating unwanted noise, and ensuring that each instrument or vocal is captured with clarity. A solid foundation at this stage sets the stage for a successful mix.
Of course, making this step easier can be done by getting everything as perfect as possible during the recording process. Make sure the tracks are hot (at peak recording level), make sure there are no unwanted breathing sounds coming from singers, odd finger slide sounds from guitar and bass players or weird stick noises from drummers. The list can be endless.
- Balancing Act: Setting Levels
Once your individual tracks are in order, the next step is to balance the levels. This means adjusting the volume of each track to create a good blend where every instrument is at the proper level. Pay attention to the dynamics of the different instruments, vocals, and percussion, aiming for a balanced and clear sound.
It may sound strange, but a good way to start, especially if you’re just learning this process, is to pan everything to the center. That way, you can concentrate solely on the volume of each element. Once that is accomplished, then you can move on to the next steps.
- Stereo Imaging
Panning is a technique used to place individual tracks in the stereo field. This creates a sense of space and separation in the mix. Experiment with panning instruments to the left or right to give the listener a more immersive experience. However, be mindful of maintaining a balanced overall mix, ensuring that important elements remain centered for clarity.
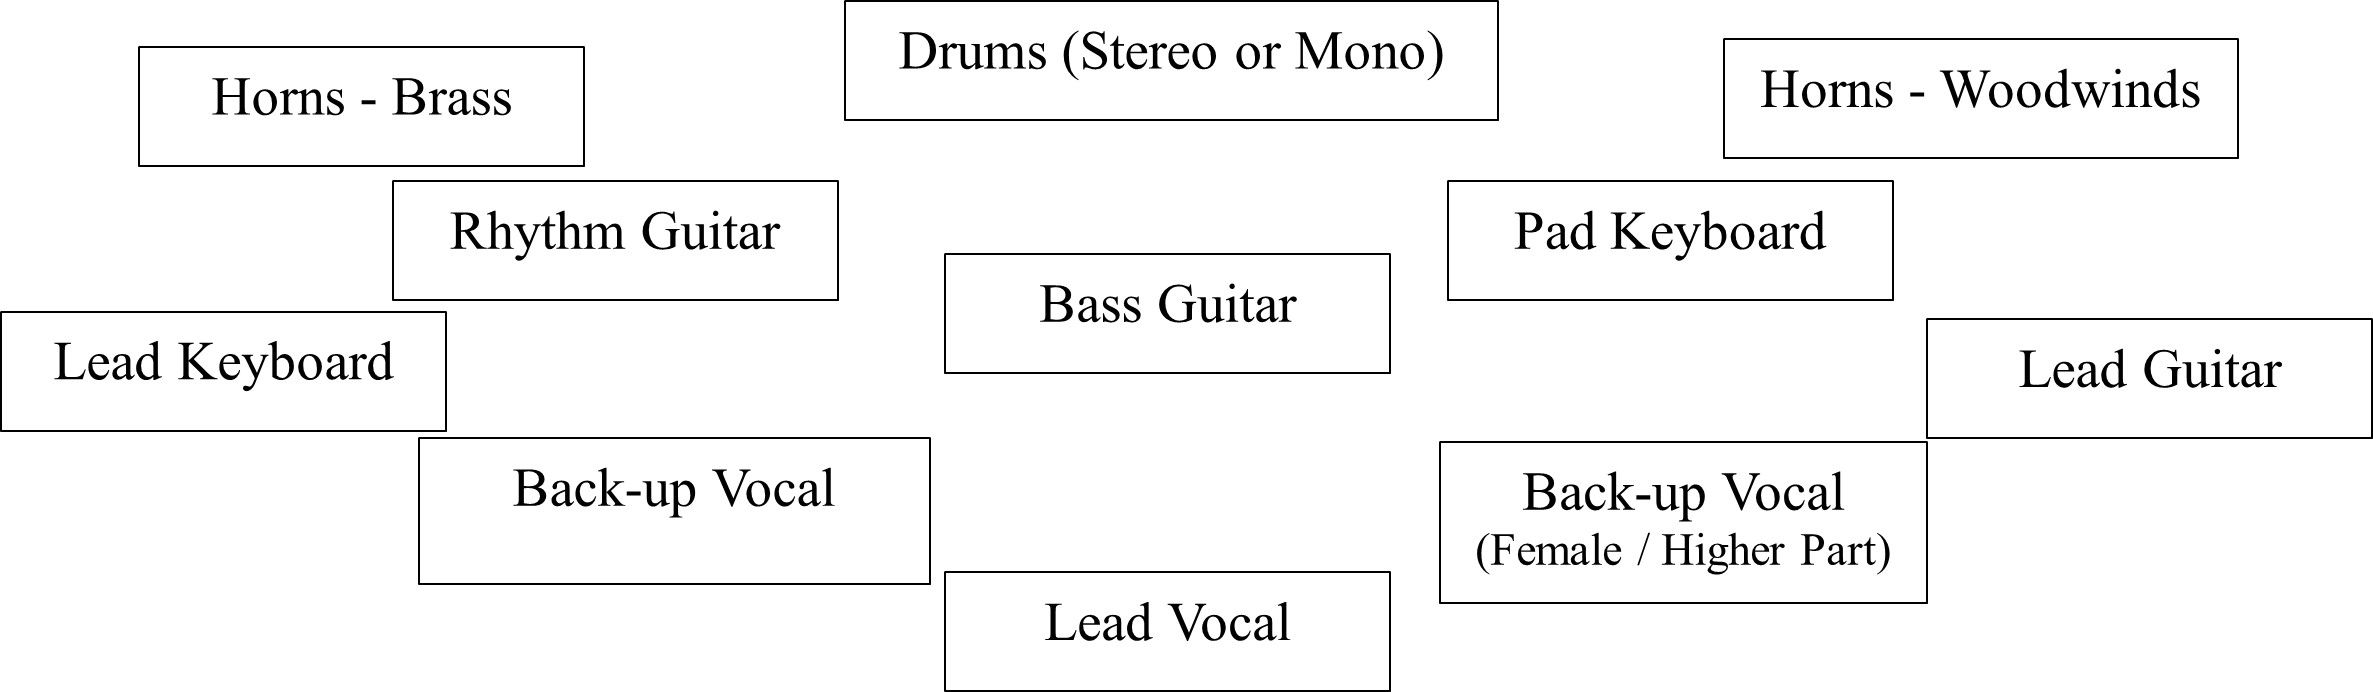
Here is one way to pan your tracks. The closer to the bottom of the diagram, the louder they should be. Of course, the volume of some elements are affected by the type of music you’ve recorded. For folk-rock, the drums may be way in the background. For hard rock , the drums may be almost as loud as the lead vocal.
Notice that the lead instruments are on opposite sides of the listening field. Lead Keyboard (when it plays its solo) is on the left side while the lead guitar is on the right. Rhythm Guitar and Pad Keyboard are on opposite sides of the field as well. And the guitars are on opposite sides as are the keyboards, horns and back-up vocals. Using this technique, the instruments don’t get obscured by others of the same type.
Sculpting the Sound: Equalization (EQ)
Equalization is a powerful tool in the mixing process that allows you to shape the tonal characteristics of each track. Use EQ to boost or cut specific frequencies, enhancing the clarity and separation of different instruments. Be cautious not to overdo it – subtlety is often key in achieving a natural and polished sound.
An important thing to remember when doing EQ is that cutting a range of frequencies is most often more effective, and easier, than trying to boost desired frequencies. Boosting often accentuates the problem, while cutting a set of unwanted frequencies can subtly tone down the problem. Ther are quite a few charts available on the internet that describe which instruments / voices produce which frequencies. It is also recommended that you study the overtone series so that you can work with certain instruments like overdriven (distorted) guitars, cymbals, vocals, and certain woodwinds.
Adding Dimension: Reverb and Delay
Reverb and delay effects add depth and dimension to your mix. Experiment with different levels of reverb to create a sense of space, simulating environments like concert halls or studios. Similarly, judicious use of delay can add a sense of spaciousness and enhance the overall texture of your mix.
Some elements may need extra reverb as part of a sound-scaping, adding extra interesting ear candy to the mix. Once that has all been decided and done, for the sake of cohesiveness in the sound, run the entire mix through a bit of reverb at the end of the effects chain (the order in which you add effects).
Dynamics Control: Compression
Compression is a valuable tool for controlling the dynamic range of your mix. It helps even out the volume levels, bringing quieter elements up and reigning in louder ones. Proper use of compression can add punch and cohesion to your mix, ensuring that every instrument sits well in the overall sonic landscape.
For the most truly musical sound, use very little, if any, compression in the final mix. This is true for folk, blues, classical, bluegrass and other music that may be more accurately described as art music. For pop, rock, modern country, house, rap and other music designed to be commercially consumed, a good amount of compression is quite applicable.
Final Words About Mixing – As with many aspects of music, it’s almost imperative that you experiment with different techniques. Make more than one mix of a song and let others hear what you’ve done and see what they like best. Keep in mind what style of music you’re producing because, in the end, it’s your music.
THE MASTERING PROCESS
Mastering is the final step in the audio production journey, where a collection of tracks is transformed into a polished and cohesive piece of art. There is no room to make any track louder or softer or add any effects to a single track. This crucial step involves a combination of technical expertise and a finely tuned ear to bring out the best in the recording. Here are the steps involved in refining your audio masterpiece.
Step 1: Comprehensive Evaluation
Before diving into the mastering process, it's essential to take a step back and evaluate the overall mix. Identify any issues or inconsistencies that may need attention, such as frequency imbalances, dynamic range issues, or unwanted artifacts. This initial assessment lays the foundation for the decisions made during mastering.
This, of course, should have been addressed in the mixing process. If any anomalies are found, you very well may have to go back and remix the song, eliminating any glitches that were discovered. Occasionally, the mastering engineer can remove an anomaly that occurs at the beginning or end of a song, but to take it out of the middle of a track is nearly impossible.
Step 2: Equalization (EQ)
Equalization in mastering focuses on refining the tonal balance of the entire mix. A mastering engineer may use EQ to address any remaining frequency imbalances, enhance the clarity of individual elements, or ensure that the mix translates well across various playback systems. The goal is to achieve a balanced and pleasing sound.
Sometimes the EQ of the entire mix has to be altered because of less than adequate speakers or headphones that were used to do the mix. It may also have been due to an occasion of the mixing engineer having stuffy ears from a cold. That’s why it’s so important to get others to listen to your mixes for a more objective analysis.
Step 3: Dynamics Processing
Dynamics processing in mastering involves the use of compression and limiting to control the overall dynamic range of the mix. Compression helps to smooth out inconsistencies in volume. Limiting ensures that the final output doesn't exceed a certain level, making the track suitable for various listening environments.
Here, again, unless the project is for commercial consumption, limit the compression if it’s used at all. Limiting is good so long as it’s used simply to make the loudest parts all the same volume and allowing any other complex dynamics to remain untouched. This applies especially to art music.
Step 4: Stereo Imaging
Stereo imaging is a crucial aspect of mastering that focuses on the spatial placement of elements within the mix. The mastering engineer may make subtle adjustments to the stereo field to enhance the width and depth of the soundstage, creating a more immersive listening experience.
No panning can be done here, but there are devices and plug-ins that that make the audio field sound wider or narrower than the original final mix.
Step 5: Sequencing and Transitions
For projects with multiple tracks, sequencing becomes an important consideration. The mastering engineer arranges the tracks in a cohesive order, ensuring smooth transitions between songs. This step involves setting appropriate gaps between tracks, cross-fading where necessary, and maintaining a consistent overall flow.
Step 6: Format and Metadata
As the final touches are applied, the mastering engineer prepares the audio for distribution by selecting the appropriate file format and ensuring that all relevant metadata is embedded. This information includes track titles, artist name, album title, and other details that accompany the audio when it's played or shared.
Step 7: Quality Control
Before finalizing the master, a thorough quality control check is conducted. This involves listening to the mastered tracks on various playback systems to ensure that the changes made during mastering translate well across different environments. Any last-minute adjustments are made to address potential issues.
Step 8: Finalization
Once satisfied with the results, the mastering engineer finalizes the master, creating the version that will be used for duplication, distribution, or online release. The finalized master encapsulates the collective efforts of the recording and mixing stages, presenting a polished and professional sonic representation of the artist's vision.
CONCLUSION It bears repeating – There are a myriad ways to record, apply effects, mix and master a recording. It all depends on your goal. If you want to sell your music in as many places as possible, hiring a professional studio and mastering engineer may be the way to go. If you can create a mix that you are very pleased with, maybe all you need is a mastering engineer. If you’re recording songs for private sales, friends and family, a mixing/mastering hybrid process may be all that you need. In any case, experiment, have fun and make your music. Remember, the whole creative process is a gift from God. In Genesis 1 it says that we were made in the image of God, and the first characteristic of God’s that we’re told about is His creativity.
For information about Salt Cellar’s recording facility, click HERE. We also have the skills to write horn and string parts for your next project.
Although we have an adequate recording studio, Salt Cellar Creations’ primary business is the creation of sheet music for Concert Band, Choral Groups and String Orchestra, and we have a growing library of original works and arrangements. Explore the available music HERE.
SCC can also compose an original piece for you or do a custom arrangement for you. There are two ways that this can be done; one is much more affordable than the other. And SCC is always looking for ideas of pieces to arrange or suggestions for original pieces.
We have sold music not only in the US but in Canada, the United Kingdom, France, Australia, New Zealand and Austria. Please visit the WEBSITE or CONTACT US to let us know what we can do for you!