How to Make the Best Recording in a Studio – Part One

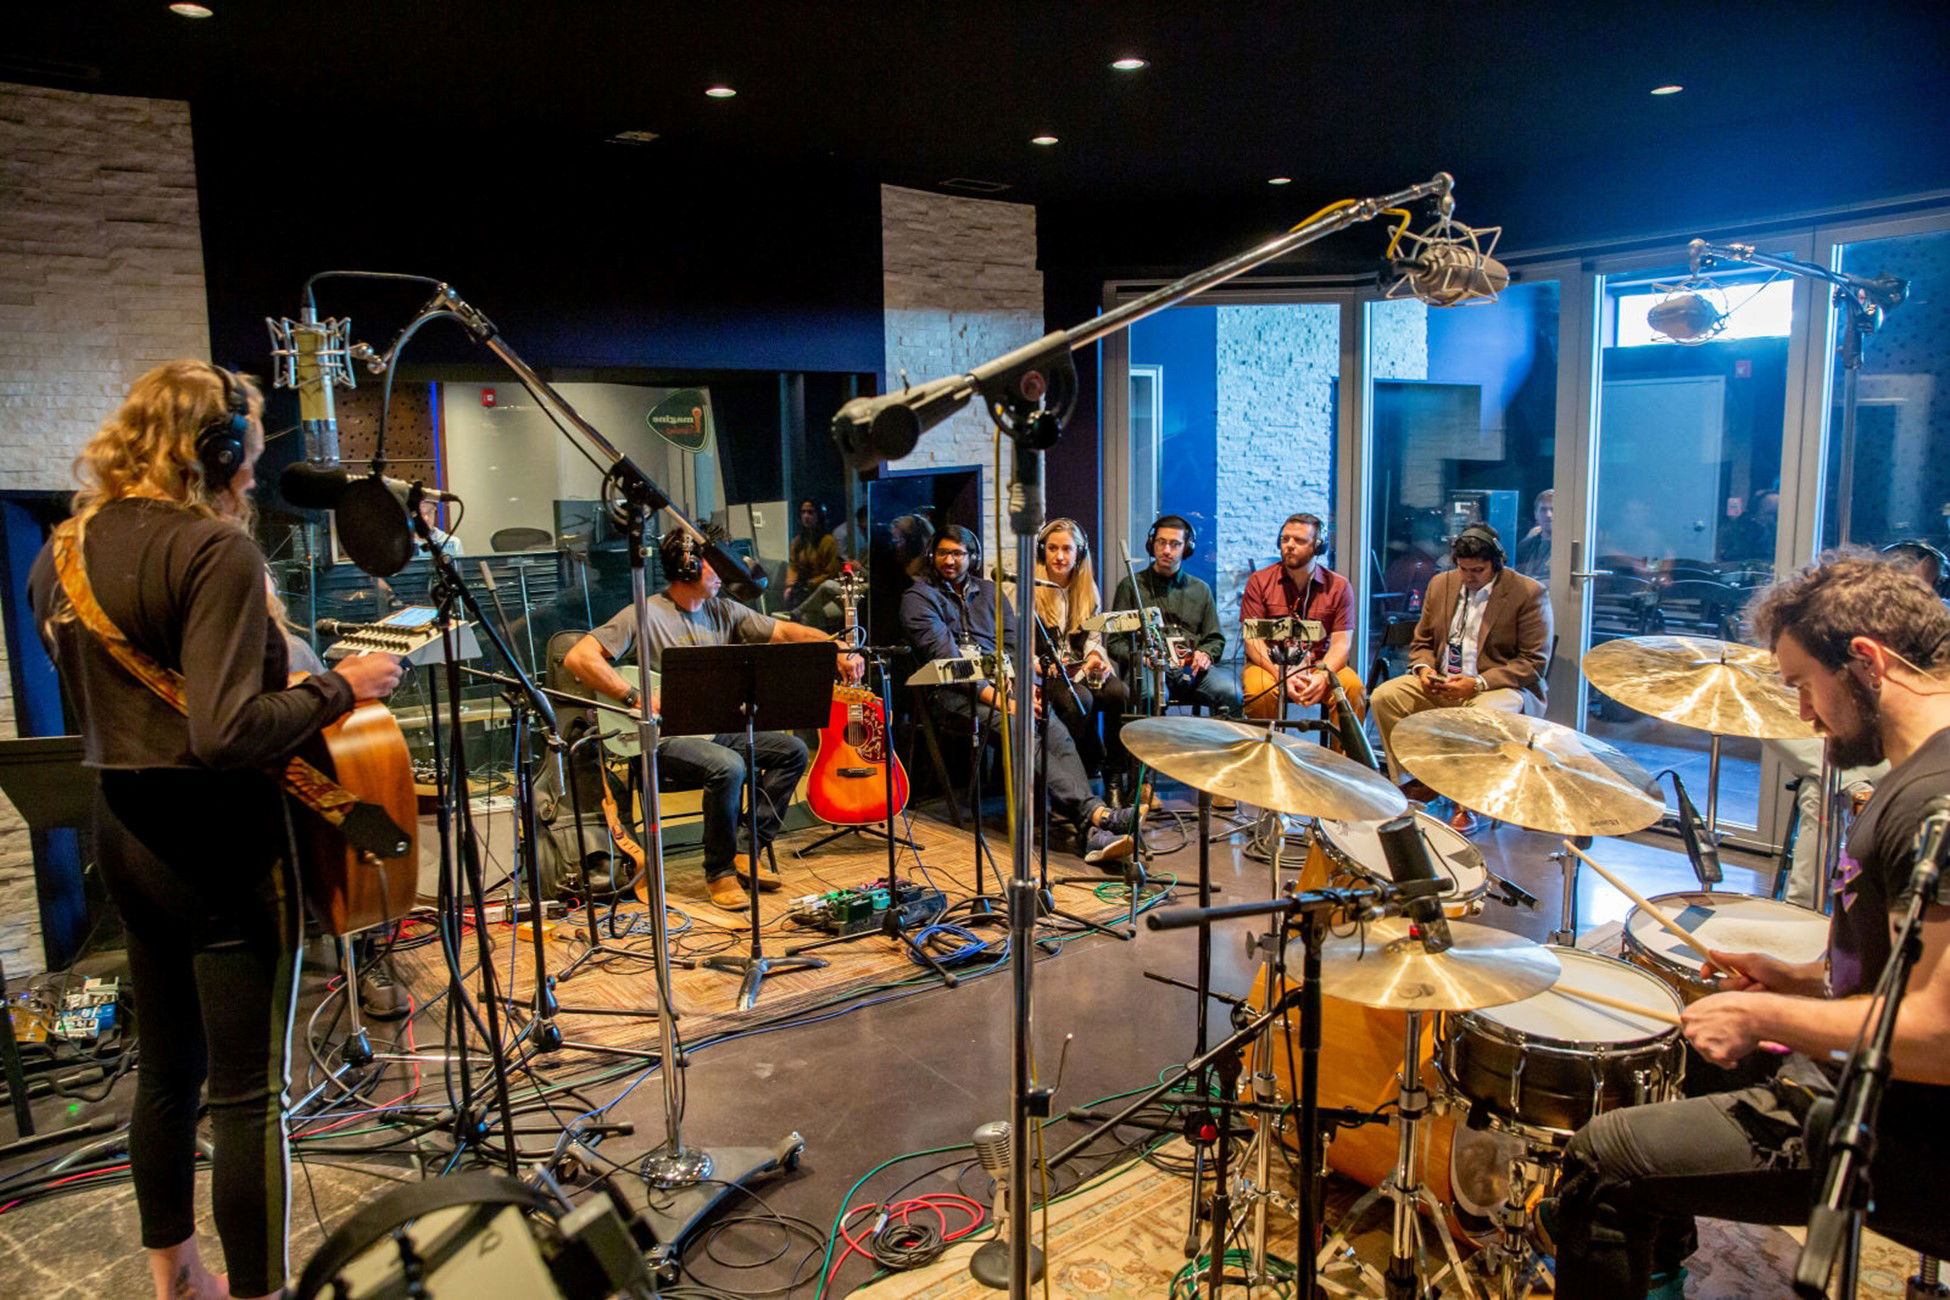
- Record your latest song in someone else’s studio
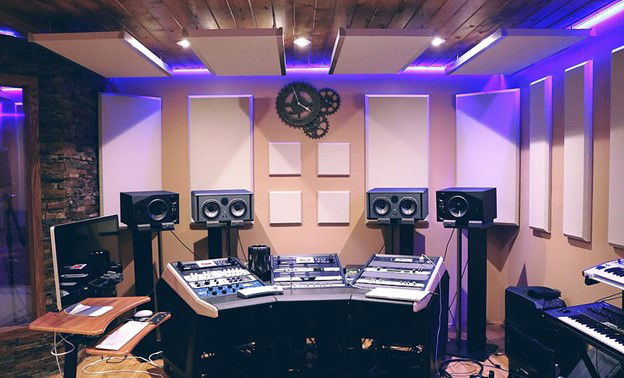
- Record in your home studio
- Hire an engineer to record for you
- Be your own engineer
- Play and sing all the parts
- Hire other people to sing or play for you
- Any combination of these – This article is for you.
Practice: Before you start recording anything, anywhere, the first thing you should do is PRACTICE. This is especially true if you’re in a group that wants to record. You’re going to be immortalizing the group’s sound; there won’t be any studio musicians to beef it up. If you’re a singer-songwriter and need to use studio musicians, well, then, for you my advice is still to PRACTICE.

Match the Studio to Your Project: If you have your own studio, that’s good. But you may need to find a good studio. There are a bazillion and four people with recording equipment. Some of them know how it works. The best thing is to listen to some samples of work that they’ve done, especially projects that best matches the kind of project that you want to do. Now it’s time to discover some things and to make some decisions. Let’s start with what kind of project you’ll be doing. Projects might be divided into the following categories:
- Solo, unbacked (It’s just you and your guitar, singing and playing at the same time.)
- Solo, backed (It’s you and your guitar with some session musicians thrown in for body.)
- Group, unbacked (The band plays, probably all at once.)
- Group, backed (The band plays, but you add horns or strings, etc. for body.)
- Studio session (If you’re going to do the vocals or an instrumental solo, all the rest of the instruments are played by studio musicians. Your part goes in at or near the end of the process. It would be like doing karaoke.)
- Self-played session. (This is your project category if you REALLY know how to play all the instruments AND do the overdubs, etc. You can also do some of the instruments with session musicians (maybe female backup vocals) doing the rest.)

Studio Gear: Skill is more important than gear. For years, I had a four track cassette-based recorder and yet no one knew that’s what I used to make my recordings, the quality was so good. I did one of my last concerts at a church that had a HUGE mixer and all the stuff that went with it. They recorded the concert since it was a fund raiser so we could sell the music afterwards. It’s a good thing that those who bought the recordings were gracious; the guys had all that gear and very little skill.
Still, a studio should have some basic gear. Remember, the studio doesn’t need the latest gear; the engineer needs to know how to use the gear he has. Some of your choices will be affected by the type of music you’re doing and what you want it to sound like. A studio should have:
- Recorder. This can be analog or digital. If you scan pop culture platforms (social media, musician’s catalogs, etc.) you will be led to believe that a computer-based digital workstation is the ONLY way to record. If you talk to real musicians of all genres and ages, there are a number of preferences for recording gear. Many musicians who play all acoustic instruments will use analog (reel-to-reel) recorders if they can. If you’re doing pop tunes with digital drums and vocal treatments, you’ll want to find a studio with a digital recording system, whether stand-alone or computer-based. It should have enough tracks to accommodate all the tracks you want to record, plus about 25% more than that, because there’s always the possibility of a great idea that needs more tracks!

- Microphones. These capture the sound from instruments and voices and, since that’s the whole idea of recording, they need to be good, if not great. There are three basic kinds of mics: > Dynamic – These are good for instruments with a wide dynamic range like horns, some vocals, etc. Depending on the mic, they can be fairly good for subtle details > Condenser – These capture more of the details of a voice or instrument and are better suited to sound sources with higher frequencies and a narrower dynamic range. These are better for acoustic string instruments like guitars, mandolins and dulcimers. >Ribbon – These are rare and expensive. Generally, a condenser mic will fill your needs equally as well.
There are also variations within each of those groups. Some have larger diaphragms designed to pick up the lower frequencies of kick drums, upright basses and electric bass guitar amps. Some have multiple direction patterns for picking up sound from a variety of locations. Still others have things like bass roll-off that reduces what’s known as the proximity effect, a quirk of many microphones to pick up extra low frequencies from a very close sound source. The proximity effect can make vocals sound warm, which is good, or muddy, which isn’t so good.

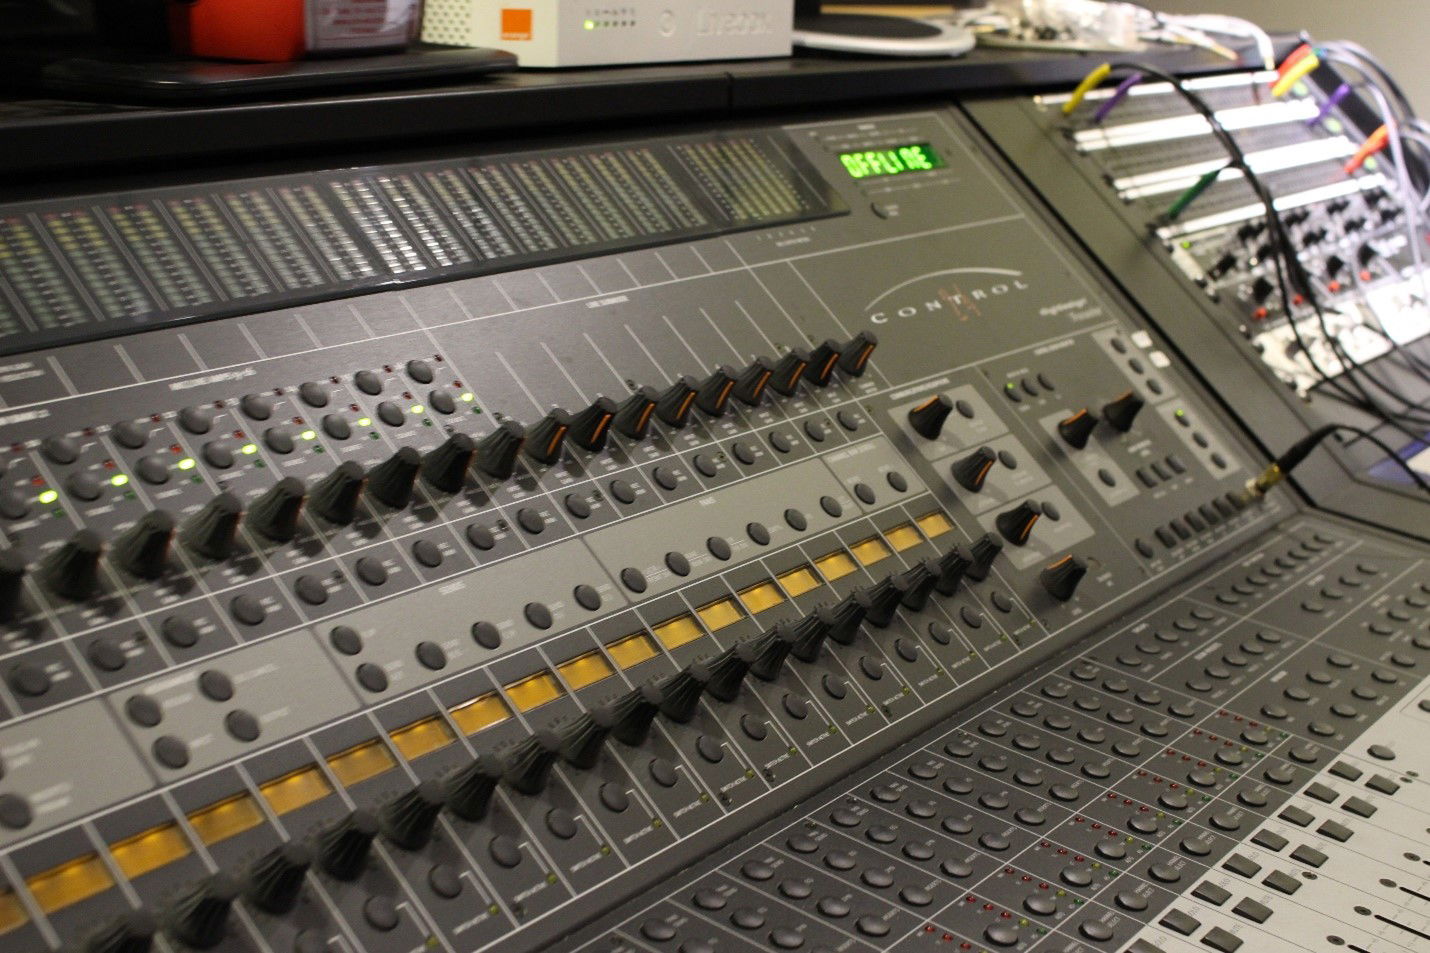
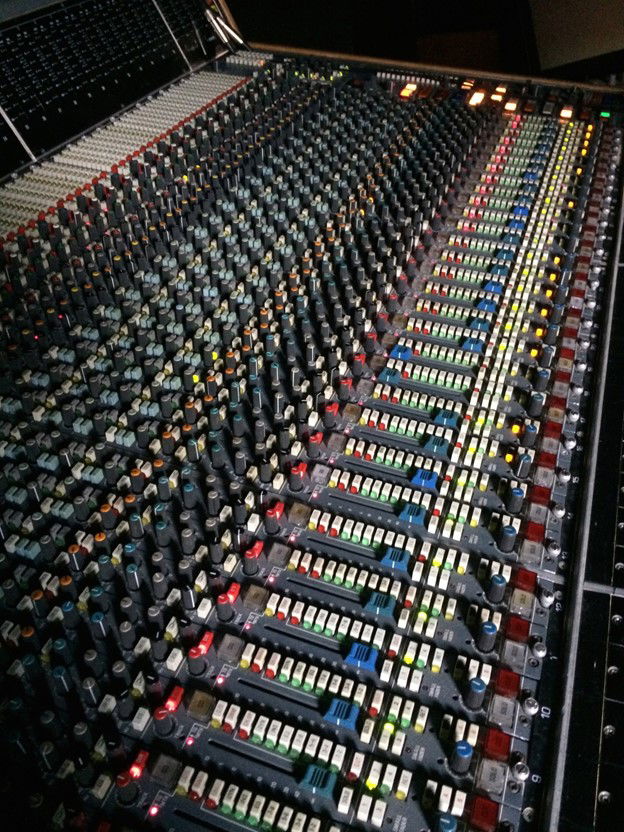
- Mixer. This one can also be digital or analog. It may also be part of the recorder or a stand-alone type. There should be enough mixing capability for all you want to do. Some have built-in mic preamps and effects. If so, good. If not, see if the studio has other means of adding effects.
- Effects. These are the reverbs, phasers (not ray guns), choruses, auto-tuners, etc. Some are stand-alone; many are called plug-ins that go with a computer-based rig. I have some built-in plug-ins in my recorder. I also have some stand-alone devices, including a real spring reverb. Some guitarists love a real spring reverb.
- Monitor speakers AND headphones. Headphones are imperative for doing overdubs and can be used to see if the tempos of different parts (instruments and vocals) match up. But, when it’s time to mix and master, good monitors are essential.
- Most modern studios have either a computer-compatible recorder or a computer-based recorder. Most of these are in the form of a Digital Audio Workstation (DAW). These devices do everything that an analog recording system does plus it allows for very minute and precise adjustments to the mix, memory of each final mix, and even a full-scale master.
A Word of Warning – Do Not feel that you need to buy the latest, most expensive, most comprehensive gear, especially if you’re just starting the recording process. There are lots of people that are upgrading and getting rid of gear that is only a few years old. Buy it, experiment with it, find out what all the dials and knobs and buttons and bells and whistles do. Lay down a few tracks, maybe with some friends, mix it and apply the effects. See what works and what doesn’t. See if people like to listen to your work. You may find that the gear you have just needs a little tweaking, adding a few pieces, and not replaced. Or, you may feel confident and successful enough to upgrade. You have been warned!
The Engineer: It helps if you know what the engineer should be doing at any stage of the process. However, do not go into the studio with a pre-conceived idea of what every step should look like. For every one hundred studio engineers, there are at least that many ways of recording different things. I have changed my methods in the middle of setting up or recording different parts. Every instrument and every client is different and the desired sound can be achieved differently in many situations.
Order of Recording: If you’re doing a recording in which there are all studio musicians or electronic musicians (drum machine, sequencer, etc.) and you will be laying in a vocal overdub, the engineer will have a good idea of the order in which everything will be recorded. He may start with a drum track and add bass, guitar, keys and strings/horns, then do your vocal part. If you’re recording most or all of the instruments yourself, then the recording order should be to your taste.
Regardless of the order in which you record, there very likely will be a need to play with a click track. Some go “click”; some go “beep”. I use a simple drum machine riff. They’re all designed to help you to stay in tempo. This is absolutely necessary if there will be a lot of overdubbing (aka over-tracking, multi-tracking). If you don’t have the song down cold (perfect), you’ll be paying more attention to the click track than to playing or singing the song. If, however, you’re recording your band all at the same time, and you’ve played the same songs over and over again, you can probably dispense with the click track. Just be sure that the tempo you choose isn’t too fast. Live bands tend to play a bit faster than they should.
Here is a suggested order, based on the way I record, for recording parts that you are playing. I’ve included the reason for each step.
1. Guitar or keyboard/piano part, depending on if the guitar or keyboard is the basic accompanying instrument. This instrument will present any and all nuances of the song base.
If the main instrument is a guitar, it may include hammer-ons or pull-offs or odd chord alterations. These will determine what the other parts will need to reflect. A keyboard added later that doesn’t include these variations will add discordant chord tones to the song that shouldn’t be there. E.g., a guitar part that includes a suspend four chord and the keyboard part doesn’t.
If the main instrument is a keyboard, the same goes for adding the guitar part. In addition, the bass line played by the left hand of the keyboard needs to be reflected in the bass guitar part. It may not need to play everything that the keyboard bass part does, but it should not conflict with it either. I have recorded a number of keyboard-driven songs in which I split the signals so that the left hand bass part, which was fairly complicated, was on one track, the right hand rhythm part was on one or two tracks, and there was no bass guitar part.
2. Next is the companion accompaniment instrument. If the song is guitar-led, this is the keyboard and vice versa. This has to be done very carefully because it should complement and “amplify” the first part. If there are any string or horn parts that will be added later, now I know how the parts should fit in.
3. The bass guitar comes next. This moves the groove of the song along. I can tell if it’s going to be too much or too little for the rest of the song.
4. Sometimes here I would do a scratch vocal part so that I know where all the verses, choruses and instrumental breaks go.
5. I round off the rhythm section with drums. I have rarely used electronic drum tracks. When I did, I had to start with them. Otherwise, I set up the drum mics and make the drum part match the rest of the song.
6. Then, I add any fill-in instruments like keys pad, strings, horns, etc. These are usually very simple parts that fatten the sound. When I get the privilege of using real strings or horns, I write an arrangement that makes sure that they get to “shine” at least a couple of times in the song.
7. The next step depends on the song and the nature of any back-up vocals that are to go on it. If there is a scratch vocal, I can record the back-up vocals using that. Sometimes, I would go ahead and record the lead vocal as a final take and use it for the back-up vocals to sing with. On rare occasions, when it made sense, I recorded lead and back-up vocals together.
In Part Two: This little article should get you started in the recording process. There are hundreds of processes to learn in recording but I won’t try to cover them all. Give yourself time to learn, experiment and enjoy the process. In Part Two, we’ll look at Mic Choice and Placement. In Part Three we’ll look at Effects and When to Apply Them, and the Mixing and Mastering Processes. For information about Salt Cellar’s recording facility, click HERE. We also have the skills to write horn and string parts for your next project. Although we have an adequate recording studio, Salt Cellar Creations’ primary business is the creation of sheet music for Concert Band, Choral Groups and String Orchestra, and we have a growing library of original works and arrangements. Explore the available music HERE. SCC can also compose an original piece for you or do a custom arrangement for you. There are two ways that this can be done; one is much more affordable than the other. And SCC is always looking for ideas of pieces to arrange or suggestions for original pieces. We have sold music not only in the US but in Canada, the United Kingdom, France, Australia, New Zealand and Austria. Please visit the WEBSITE or CONTACT US to let us know what we can do for you!